Monday, December 28, 2020

Holiday progress

Things are coming along.

Priming is complete for 25 and 26. The P60G2 that I had mixed well, and sprayed fairly well. I was worried a bit because the shelf life had expired however I have this stored in cool conditions and it is my preferred primer as long as I have a large batch of parts. Once cured it really does stick well and provide another protective layer. I have found that I do not even need to scuff parts at all, and there are no ill effects when priming. I simply deburr, wipe with acetone to get off all the oils (this is pretty quick as well) and then spray everything in one big batch.


I’m also working on the spars at this point.  Chapter 25 is moving quickly and I have even prepped a few of the parts for Chapter 26.


Sunday, December 20, 2020

Part Prep (Deburr, Dimple, rinse, repeat (Chapter 25, 26)


I mentioned in the last post that the Inventory was complete. That is true and it turns out that Vans made a couple of mistakes. They sent some bearings which were female instead of male so they swapped those. I then discovered that they sent me 54 nutplates that were 3/8" sized (K1000-6 instead of K1000-06 - way way smaller). I am not sure where you would even use a 3/8" nutplate in a Vans aircraft but they had enough to send me 54 of them. I returned those as well and am waiting for replacements. 
 
I’ve assembled the mid spar as far as I could get before the need for all the other small parts became a necessity. Chapter 25 begins with countersinking the spar, and some basic assembly of a frame shown below. 

There are a few tools which are needed for the next few chapters that are mostly called out on the cover pages for each chapter with the exception of one (or two).

I had to buy a .311 reamer which surprisingly was only available from Cleveland tool (I do like them). I already had a .375 reamer from the wing kit, so I am all set with that. While ordering I noticed I will need a reduced size 1/8" dimple die so I ordered that as well as a #17 and #20 drill bit. The #17 is not called out anywhere that I could find, and you run into it in Chapter 25. It gets used on the screw holes which need to be dimpled and I assume they have you drill this larger size (normal I think is #19 which I do have) to reduce the chance of cracking. 

Another tool I am going to order is a proper torque wrench because reading ahead I see more bolts in my future.


Temporary bolts hold the assembly together below.


Endless deburring. I am quite efficient this late in the build and it can be maddening at times, but my realizing what level of deburring is required and what is not has caused this process to go a lot quicker now. 
 
My issue is primer. It is cold here in Massachusetts so I have to prime in the garage. The P60G2 (Sherman WIlliams Wash Primer) that I have is over the theoretical shelf life but they are not specific about the usable life of the product. It seems fine at least from a consistency point of view.
 
Because of Covid, my access to a paint respirator is limited because I have checked around and most stores do not have them. So I am not sure if I am going to use the P60G2 or just proceed and get a gallon of SEM and call it a day. The spray can SEM works very well although the Sherman Williams product has Chromate in it which is a good and a very bad thing at the same time. I won't spray it without proper protection. I am leaning towards just using SEM but will have to wait for it to get here via the mail. I could buy a quart of it locally but it is a lot more doing it that way. 


Stay tuned more progress to come!

Thursday, November 19, 2020

Inventory complete

I’ve completed the inventory of the kit. I was missing a couple parts, which surprised me but I am sure that given all the backlogs with shipping they are trying to move fast and overlook things. 

I was also shipped a couple pieces of hardware that were incorrect but replacements are on the way as well for those. 

If you are a new builder, my strong suggestion is to make sure you look up each piece of hardware as you inventory it to get familiar with numbers (AN or the evil MS numbering). I was went incorrect rod end bearings, and only noticed because I looked up the part number and saw that it was different than the part I was looking at.

One change I have made for hardware storage this time around and I can’t believe it took me this many kits to do this is to put each different type of part in its own bin. I bought a bunch of drawers and organization cabinets from Harbor Freight. In the past what I have done is either keep the misc hardware in the bags and then go find them on the inventory sheet later when I need them or put them in a drawer but just label it bag xxxx. It is so much easier to separate the different bolts, screws, and misc hardware by part number to find later. Rivets I always kept separate.

Building comes next. I have to complete the repair of the aft fuselage before starting on the actual fuselage kit, so there will be a delay while I do that slightly out of sequence from the instructions. This new kit looks interesting and there are a lot of parts, which means lots of deburring.

Stay tuned.


Saturday, November 14, 2020

Inventory under way!

It’s incredible the amount of parts there are with this kit. This will be a lot more variety than the wing kit for sure.

I ended up building a couple new tables so that has slowed the unpacking down.


Much sturdier table


A little too soon to be thinking about the panel


Friday, November 13, 2020

Fuselage kit has Arrived!


It's here!  I am still building my second new table so I will be opening it up later tonight and taking a look. Old Dominion came through with no damage at all on the outside crate.

Thursday, November 5, 2020

Fuselage kit has SHIPPED!

 Exciting news from the mothership. I just received a notice from Old Dominion that the Fuselage kit along with a couple of replacement skins for the tailcone has shipped!

Time to clear out the shop this weekend!


For those that are curious, time from ordering to shipping was 15 weeks. Original quote was 10 weeks, however COVID and the wildfires added an extra five.


Stay tuned!

Saturday, October 10, 2020

Left side skin re-do

I had already mis-dimpled one of the holes in the left side aft skin and was able to upsize the rivet. Unfortunately due to some unique circumstances a decent sized dent was made in the assembled tailcone and I have chosen to redo the left side which unfortunately will require disassembly.


Luckily because of the fuselage kit delay, I have a crate coming from Vans which allows me to get skins and stiffeners shipped basically for free as it just gets thrown into the crate (or more accurately REALLY duct taped and papered in).


More to come


Monday, September 28, 2020

Fuse Kit Shipping Delay

 So today was supposed to be the date that crating began for my fuselage kit. Unfortunately I was informed late last week that shipping is now delayed by 4-6 weeks, so my total wait could be like 3-4 months since I ordered. This is really unfortunate and I do understand the issues with the fires up there however it just seems like the message was a little off from when I ordered. Covid was already in full swing and the crating date was supposed to be today. When I asked about why the delays were 4-6 weeks more I was told it was because of the fire issues as well as Covid (I was expecting maybe a 1-2 week delay given they just started shutting down a week or two ago for the fires)

On a more positive note, this allows me to start working on fiberglass perhaps. I have to look more into what is involved in it as I was originally going to wait until the end of the project to work on it other than the canopy.


Saturday, September 12, 2020

Waiting for the Fuselage Kit

 Progress continues, although right now is a bit of a lull in the project. I only have around 45 minutes of riveting to go before the tailcone is complete. Finding helpers has been somewhat of a challenge but this will be resolved soon. The only remaining rivets are the very top ones in the middle of the top skin. I plan on climbing in and having someone rivet from the outside. 


My current crating week is September 28, and I was hoping that somehow it would ship sooner but it is so unfortunate what is happening with all the fires out west that this looks unlikely. 


I have chosen for now based on advice in the forum to delay all fiberglass work until the end of the project, although if the Fuselage kit gets delayed a lot more I may reconsider that and work on the tips for the rudder and elevators.  Chapter 11+12 I find quite confusing as it seems like this is where you would mount the tail surfaces on a permanent basis and this is not at all what I want to do right now.


Stay tuned, it's time to clean the garage and take care of all the other projects while I wait!

Tuesday, July 28, 2020

Tailcone work continues - Ordered Fuselage Kit

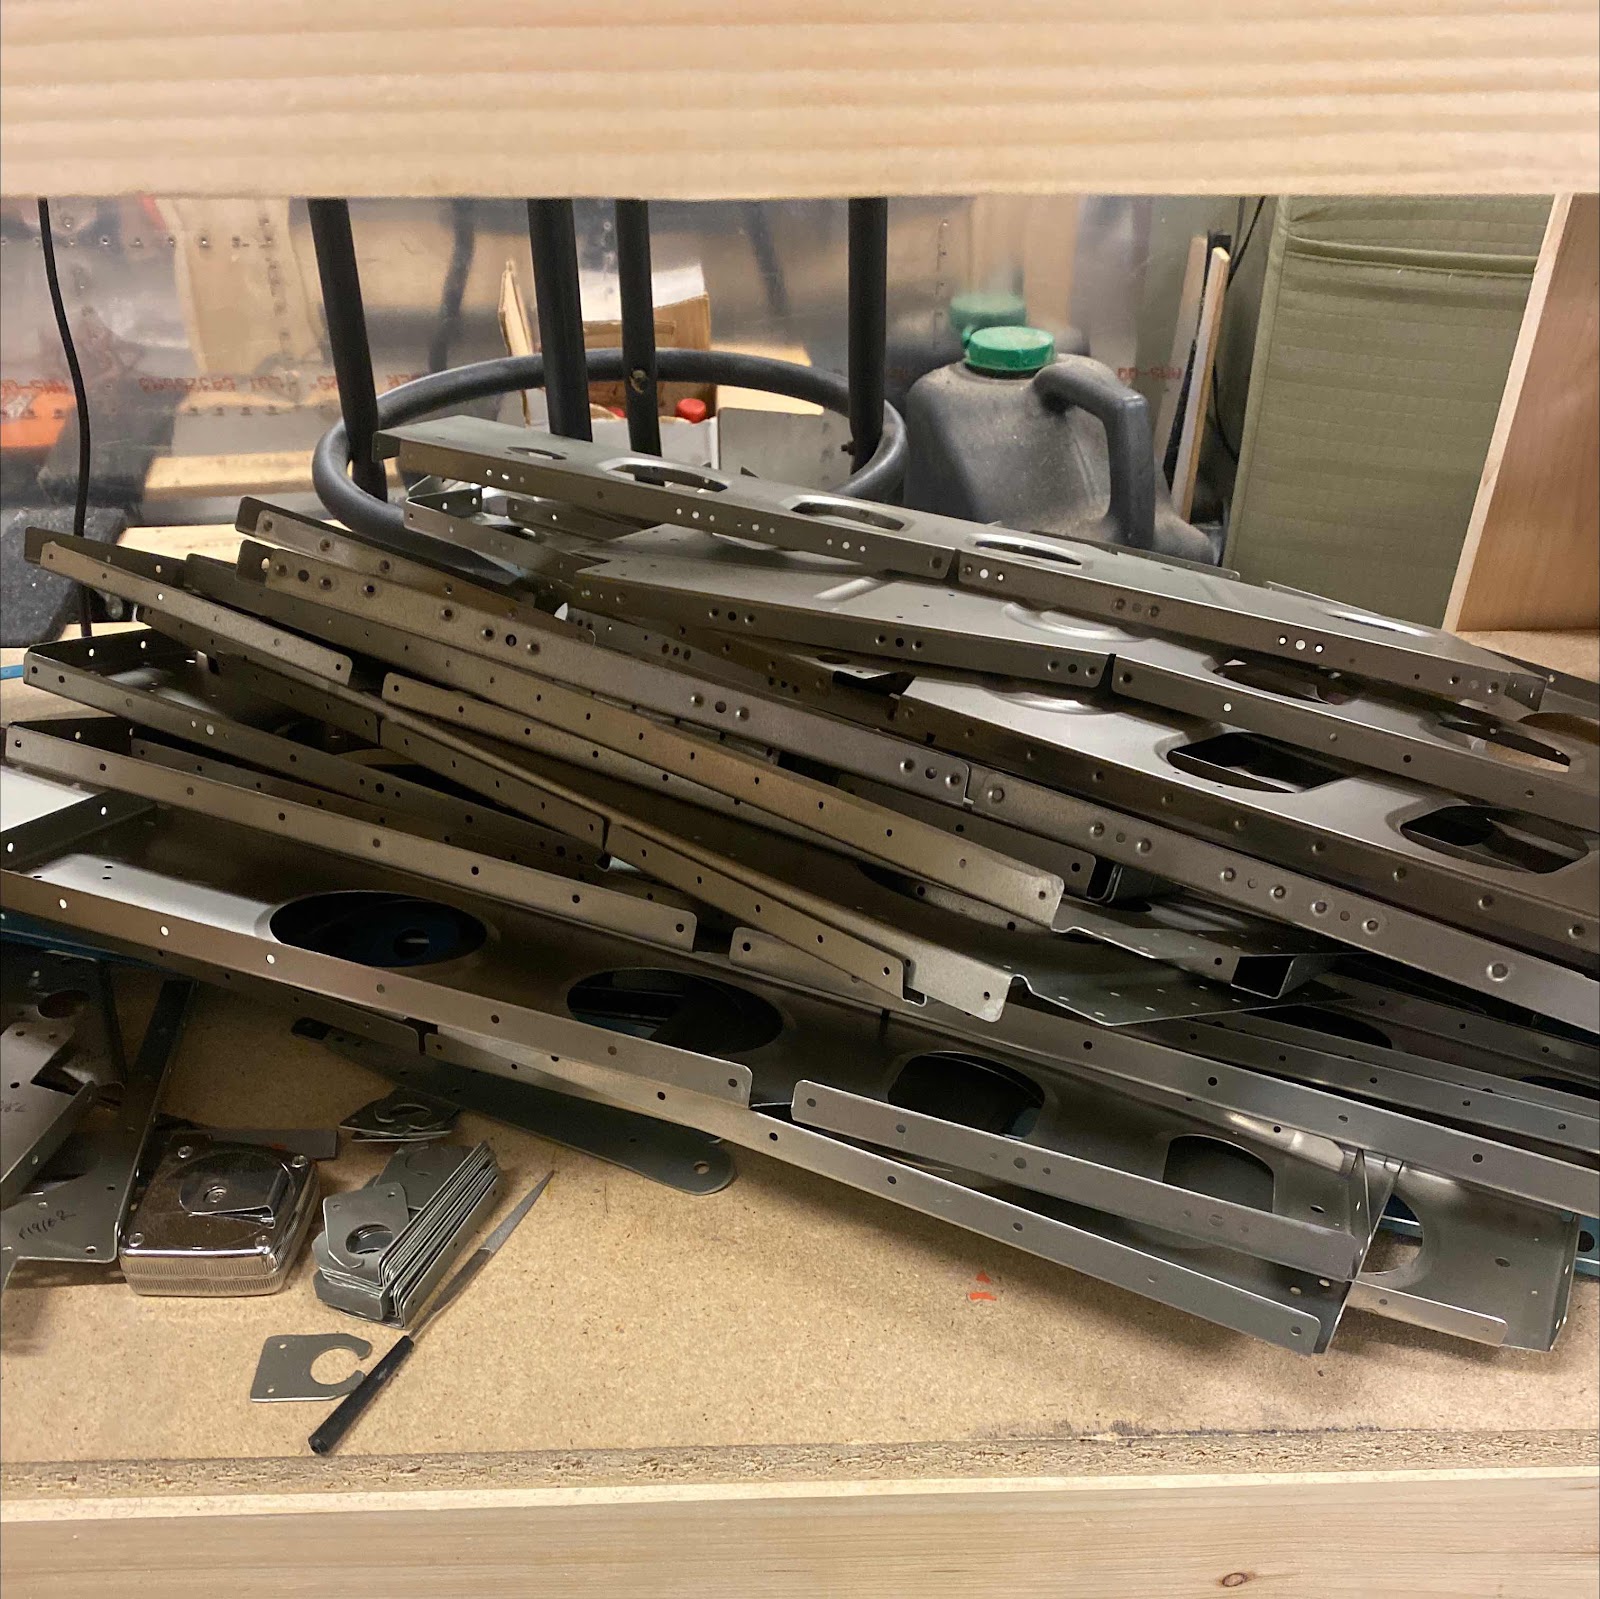
I have been steadily working on the tailcone, and just finished the riveting of the side skins, installed the snap bushings in the bulkheads, and last night ran the rudder cables through the tail.

Horizontal Stab attach angle - Ended up reordering because I removed too much on the edges and the edge distance was insufficient


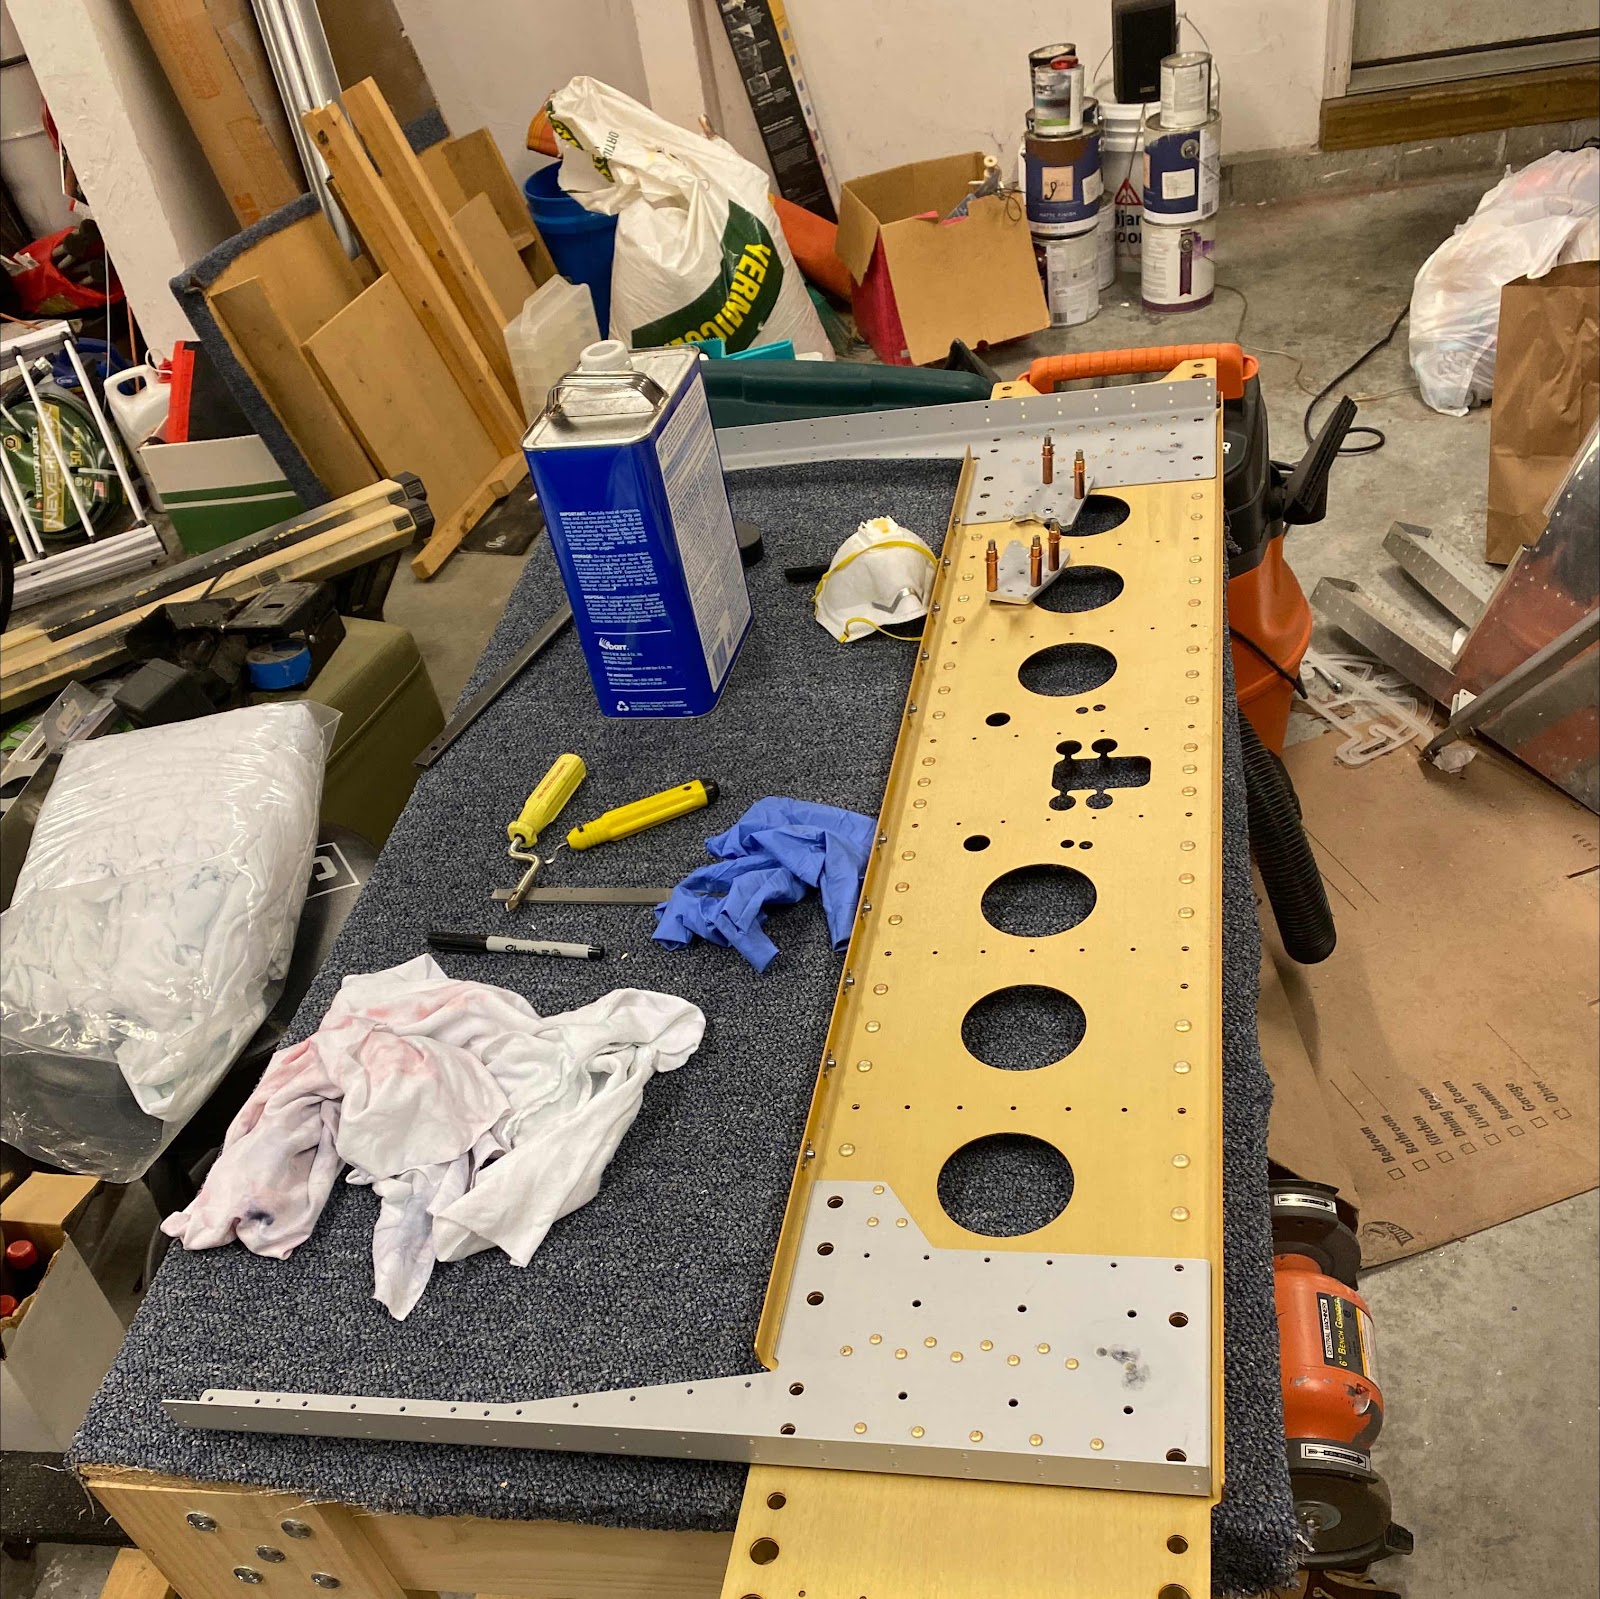
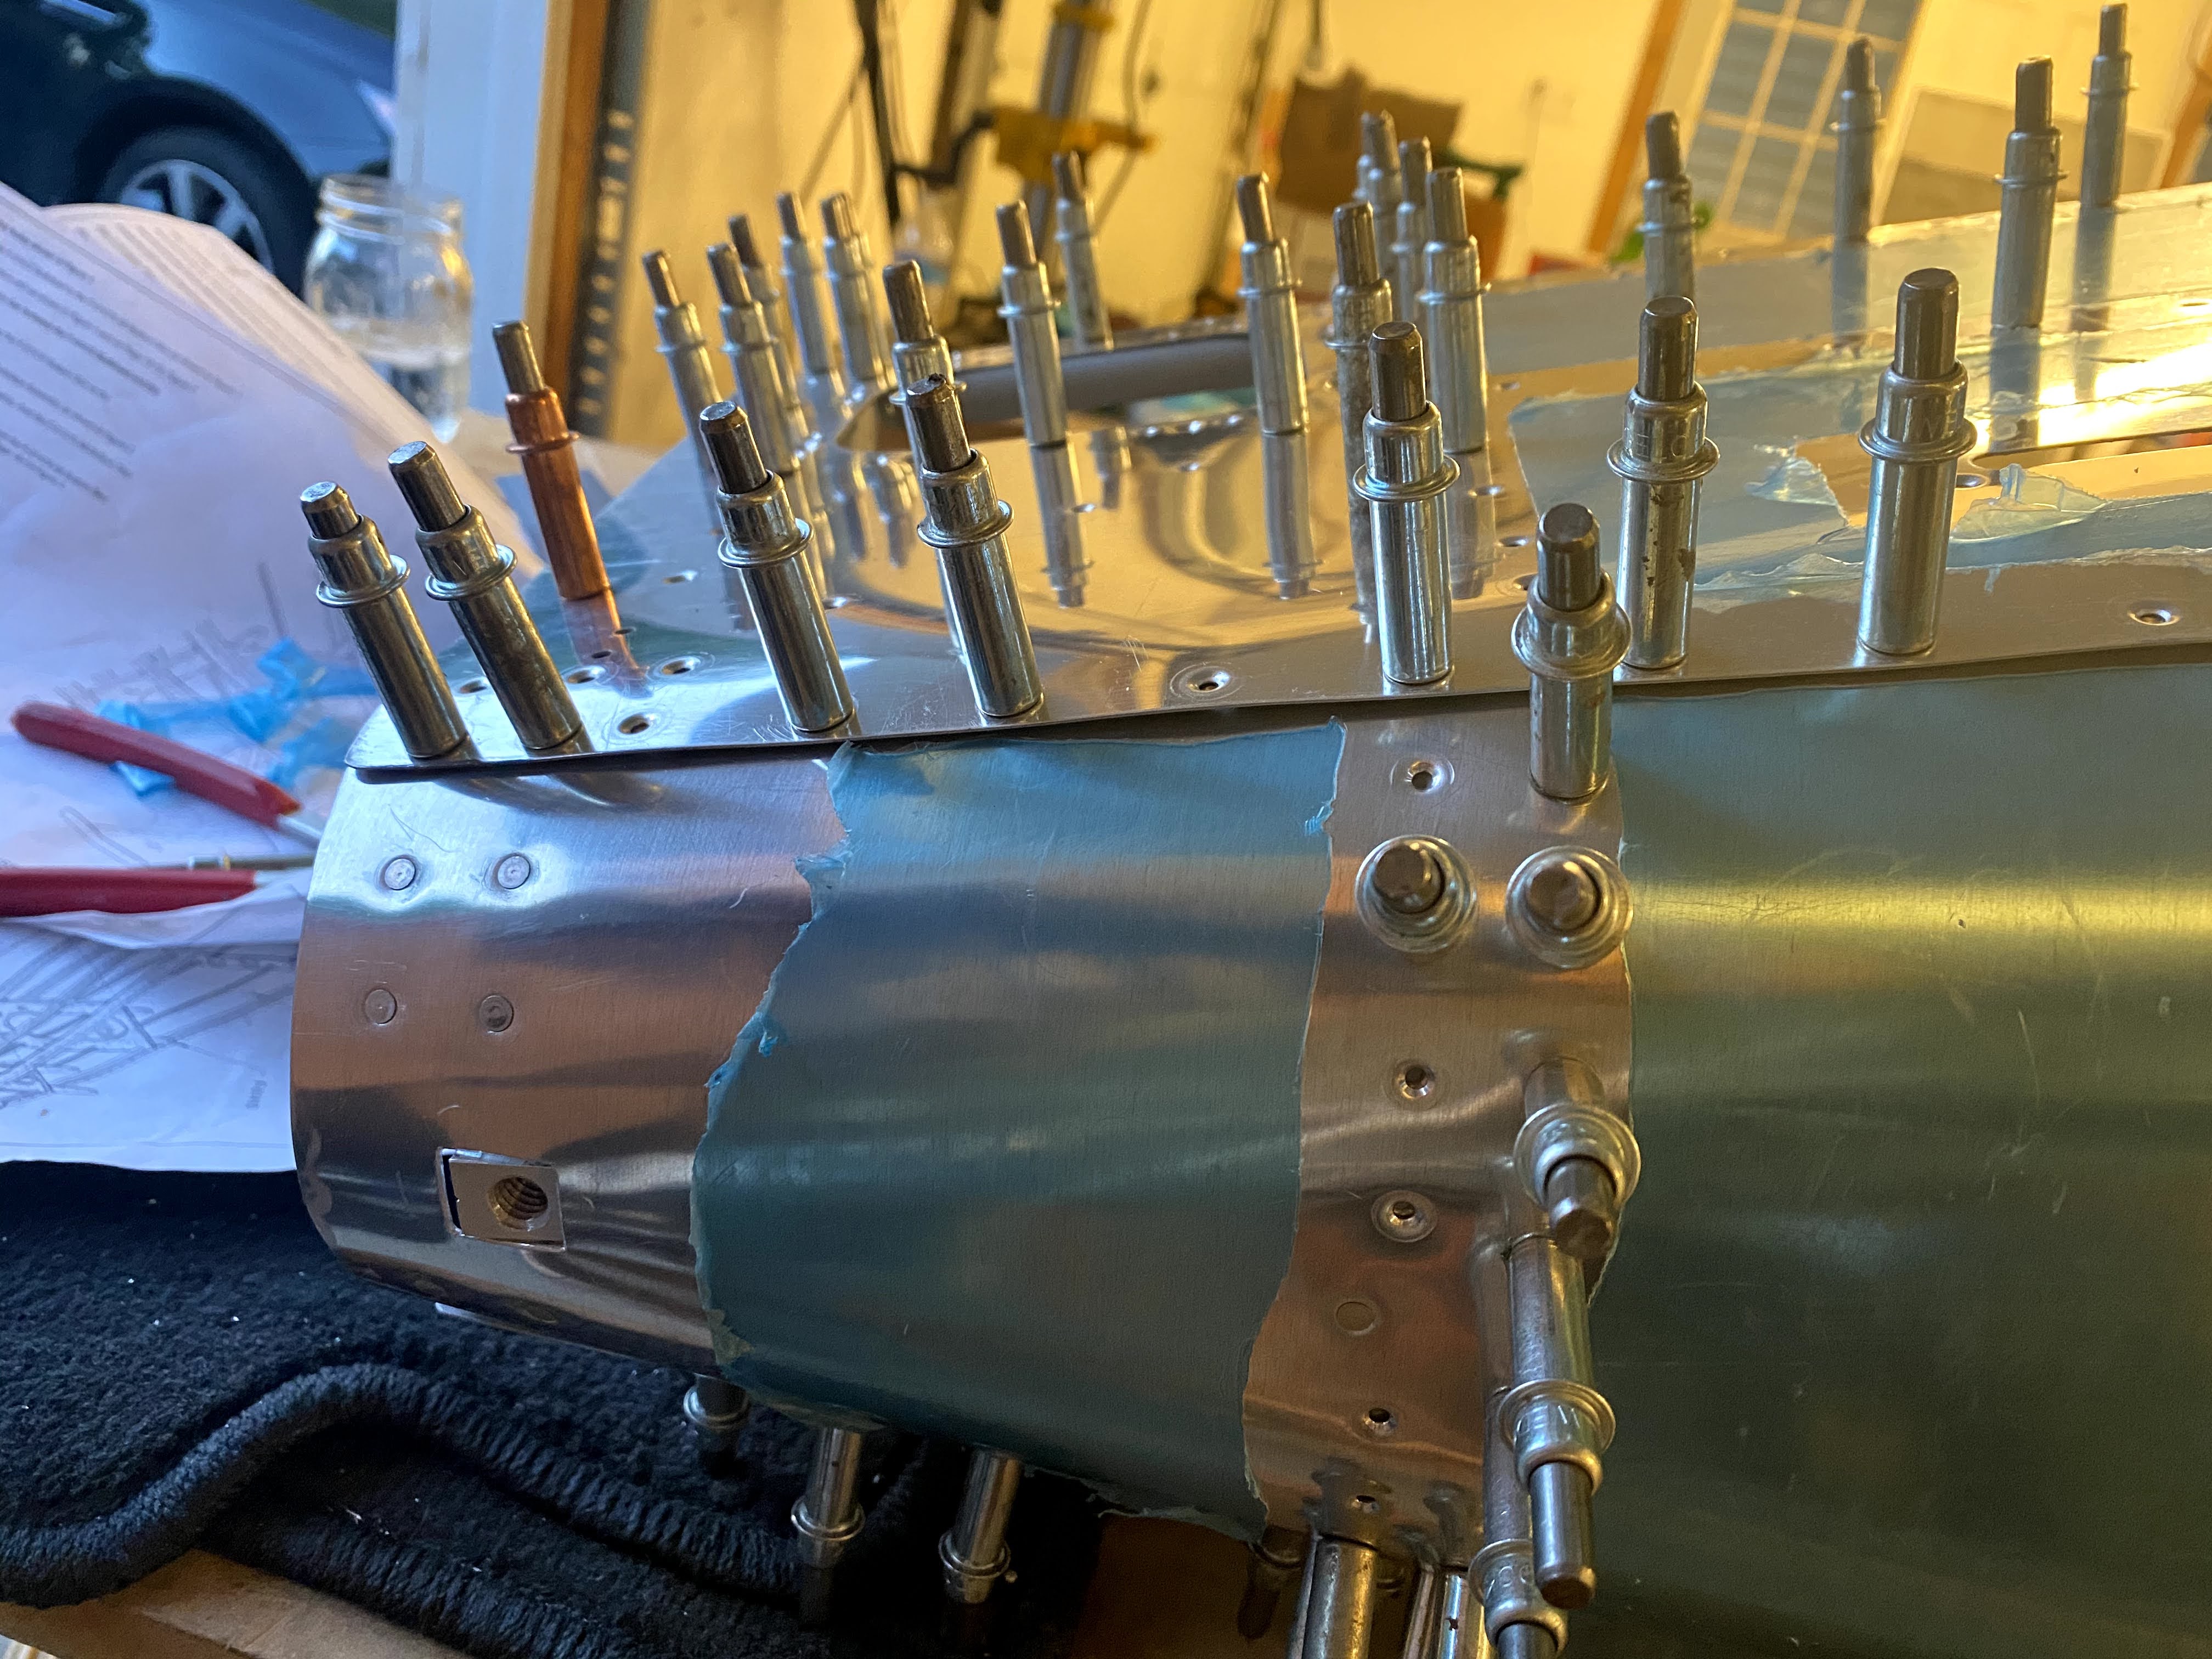
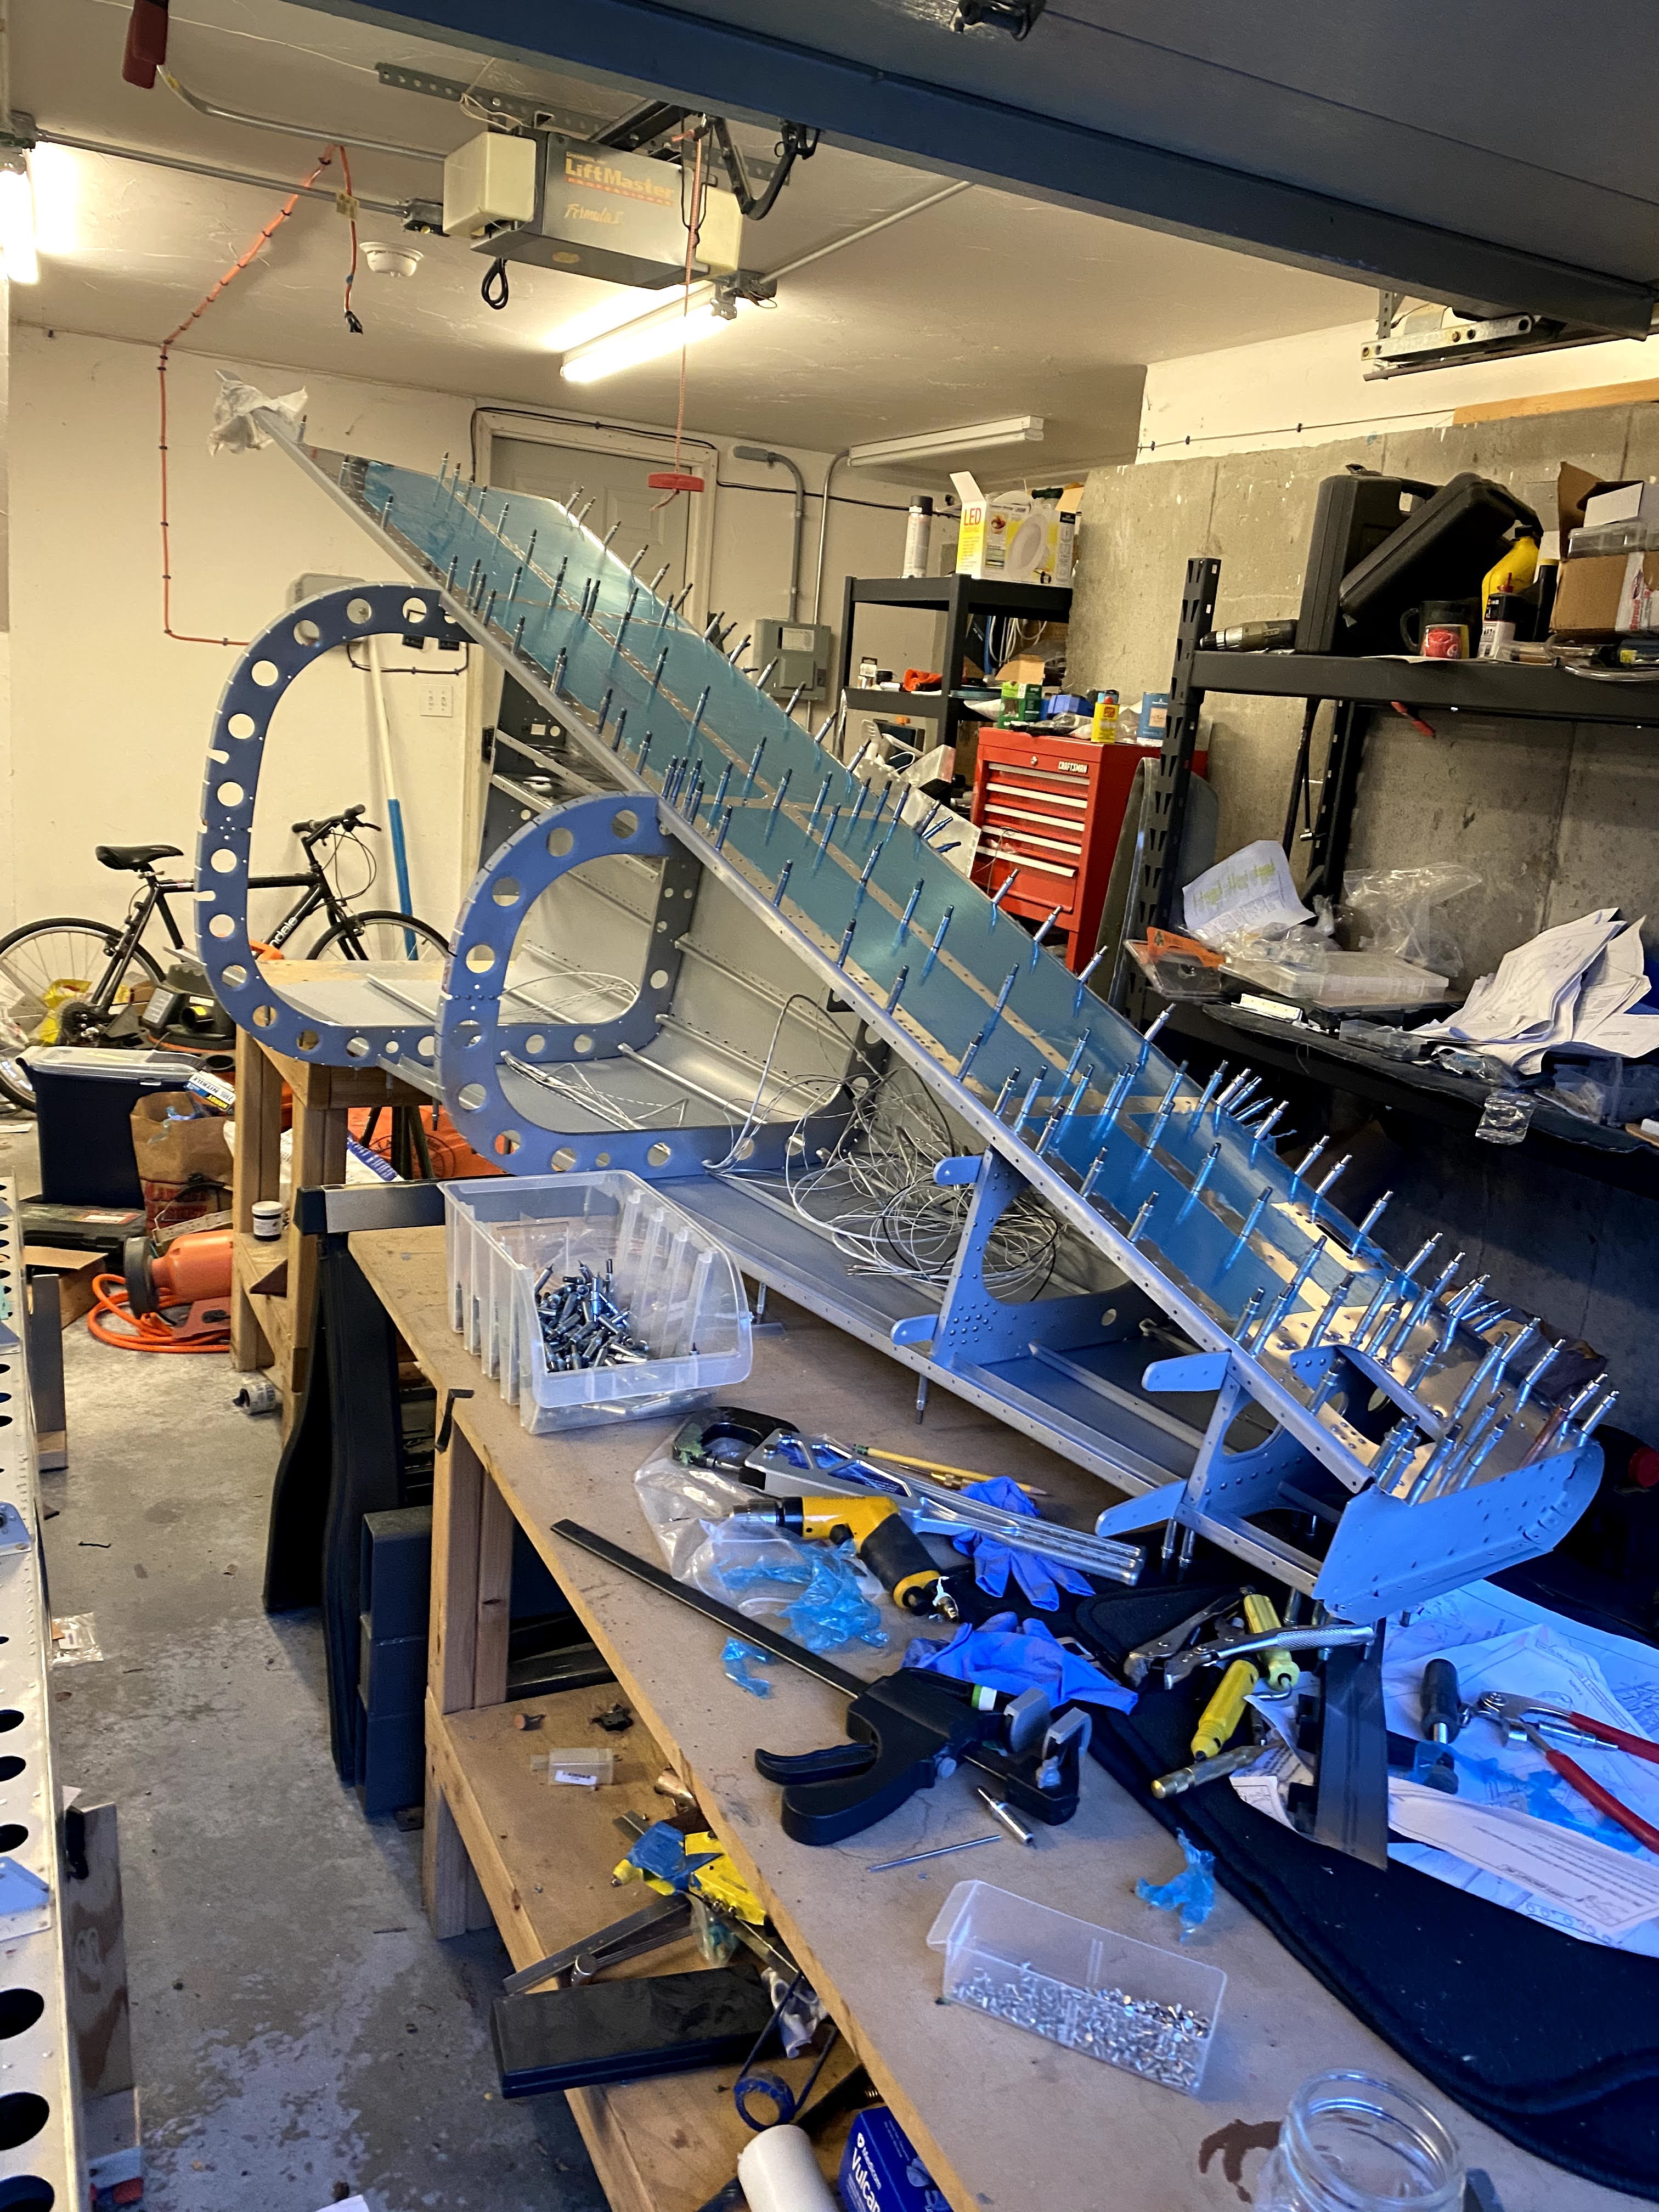
Side skin attach - Wires run as well


You really need to work on the overlap to ensure that there are not large gaps, had to take this apart a few times and use a seamer to bend a bit and "encourage" the edges to fit correctly.


In position to rivet (now complete).


Wiring/Avionics

Last week I had a conversation about wiring with a fellow builder, who just had his panel work done through Aerotronics . I contacted them to discuss wiring, and they gave me a great education on what needed to happen once we get to the panel stage. My plan currently is that I will not buy the Vans wiring harness, but instead either take advantage of the wire runs that Aerotronics provides when the time comes, OR I may actually run my own wiring. I had originally put $35K into my budget for the panel, but when I heard that his IFR panel similar to what I want was $50K I was shocked.

When it comes to using a vendor vs DIY there are two camps, and I totally understand both positions (I am grouping in similar schools of thought and reasoning into each grouping).

Do it yourself:

  You built the rest of the plane, you are going to install the engine yourself which arguably is a larger safety concern than the panel so why not do the wiring as well? Besides you will save $8-10K on the labor costs that are charged when you have someone else do it. It is a new skill to learn, and if you already have some interest and knowledge (I do) then why not invest the extra time?

Leave it to the professionals:

  Let's face it, this is a LOT of wiring, and even if you knew what you were doing it will look much better if a professional does the wiring. All of the thinking is done for you, you will get a nice wiring diagram out of it, and lots of after sales support.

  In addition, there is a lot of room for error when not only running the wiring, but getting the connections correct, and having everything function correctly (CANBUS for example with Garmin).  It is worth the extra cost for the acceleration of the build.

  Another variant of this line of thinking is: Wiring is scary, left to professionals, and is just a skill I don't have. (I don't subscribe to this however I get it).


-------

I haven't decided which path I will take - certainly buying some wiring and doing the runs through the fuselage while I consider what to do is a middle ground and I have plenty of time.  I am just about 100% certain it will be a Garmin panel when the time comes, assuming the market is not disrupted with new models/players.

I also decided I am going to go with FlyLeds when the time comes as well assuming they are still on the market in the future. I am deferring all lighting and avionics decisions as long as possible as things do change in the marketplace.

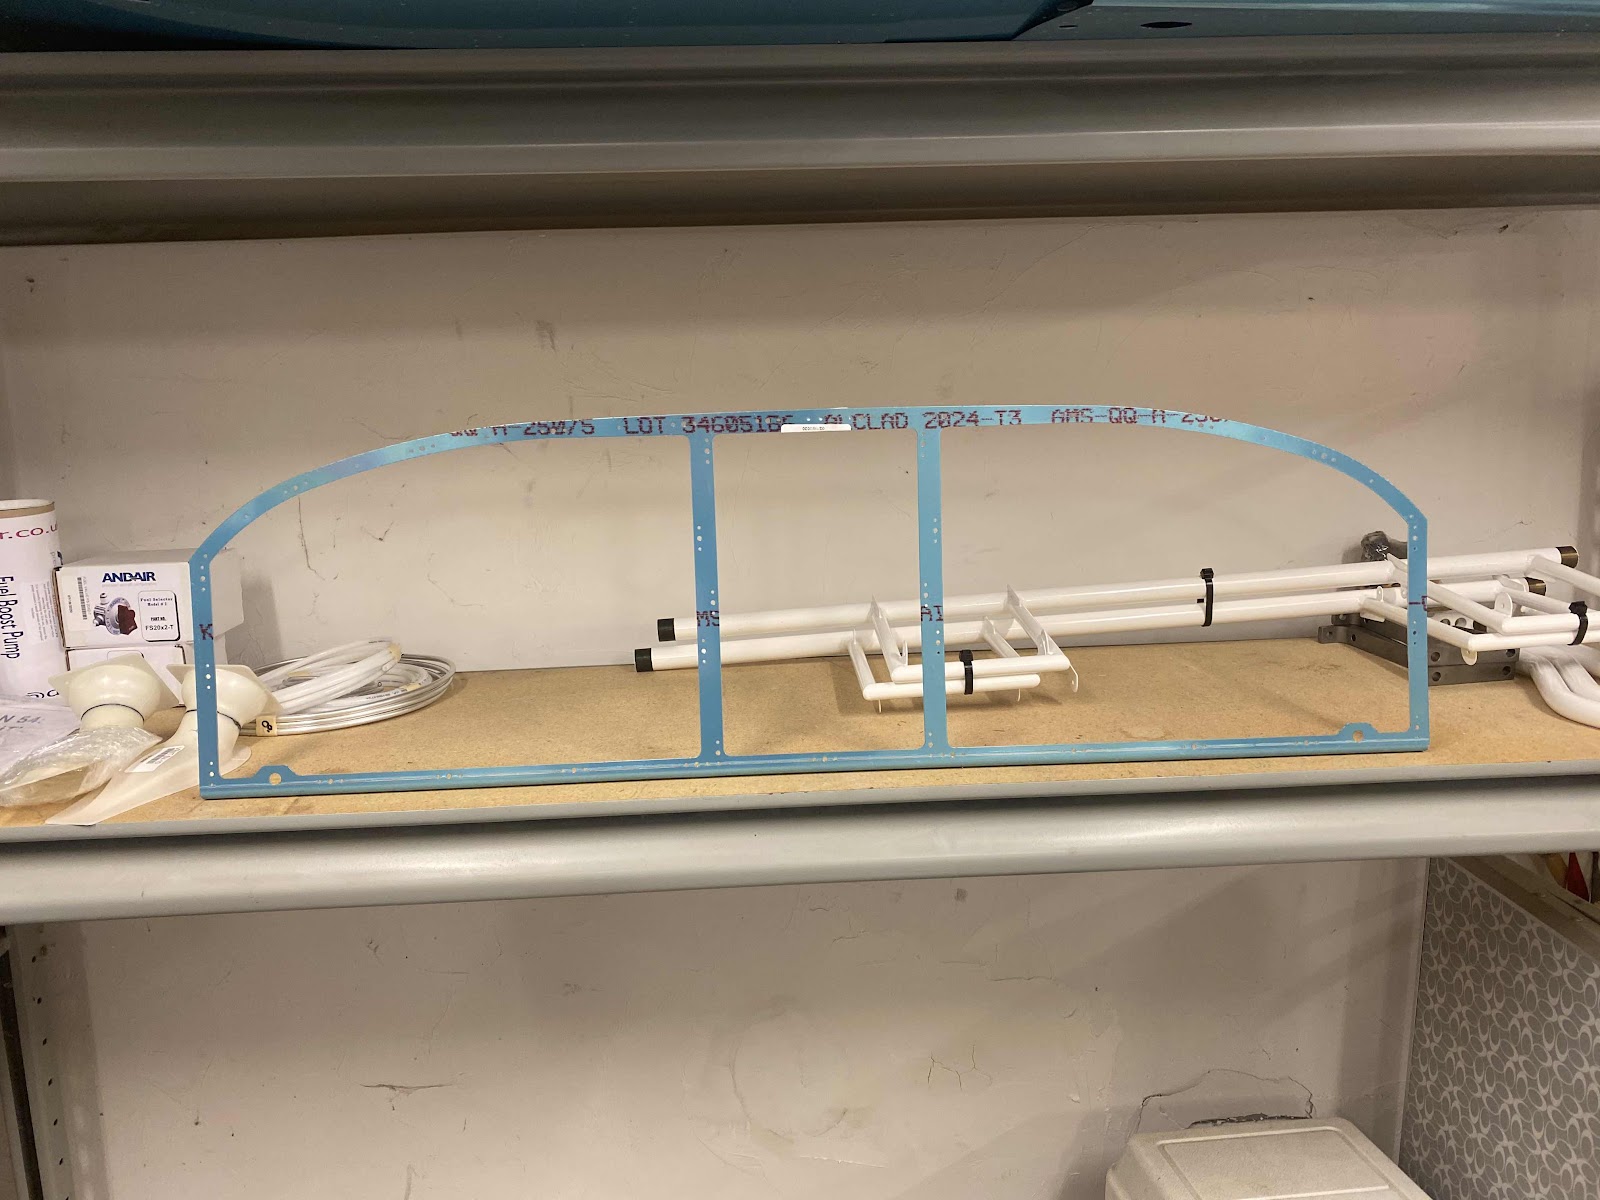
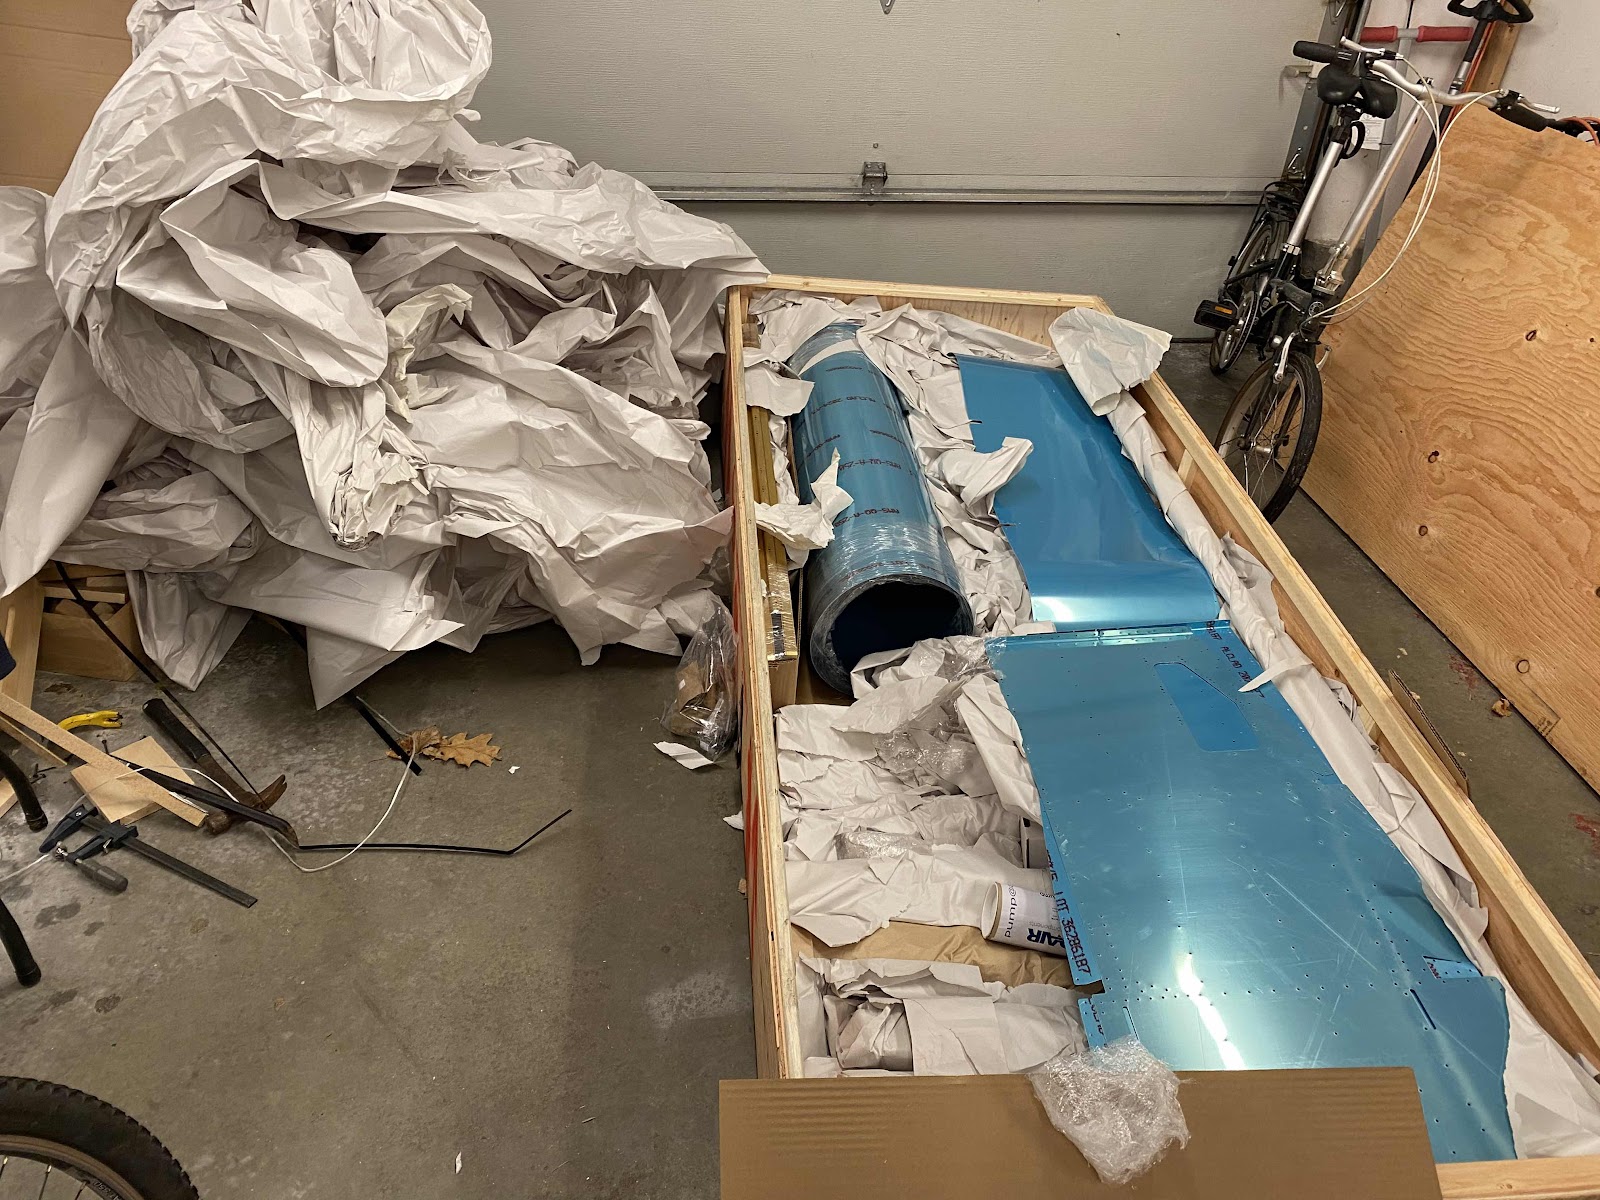
Ordered the Fuselage kit!

I pulled the trigger on the fuselage kit. It should be shipping at the end of September so that gives me plenty of time to finish up the tailcone, perhaps work on some fiberglass although I may wait until the end of the build for that, and certainly contemplate what paint for the interior I will use.  If I really have lots of extra time I will think about the panel as well.

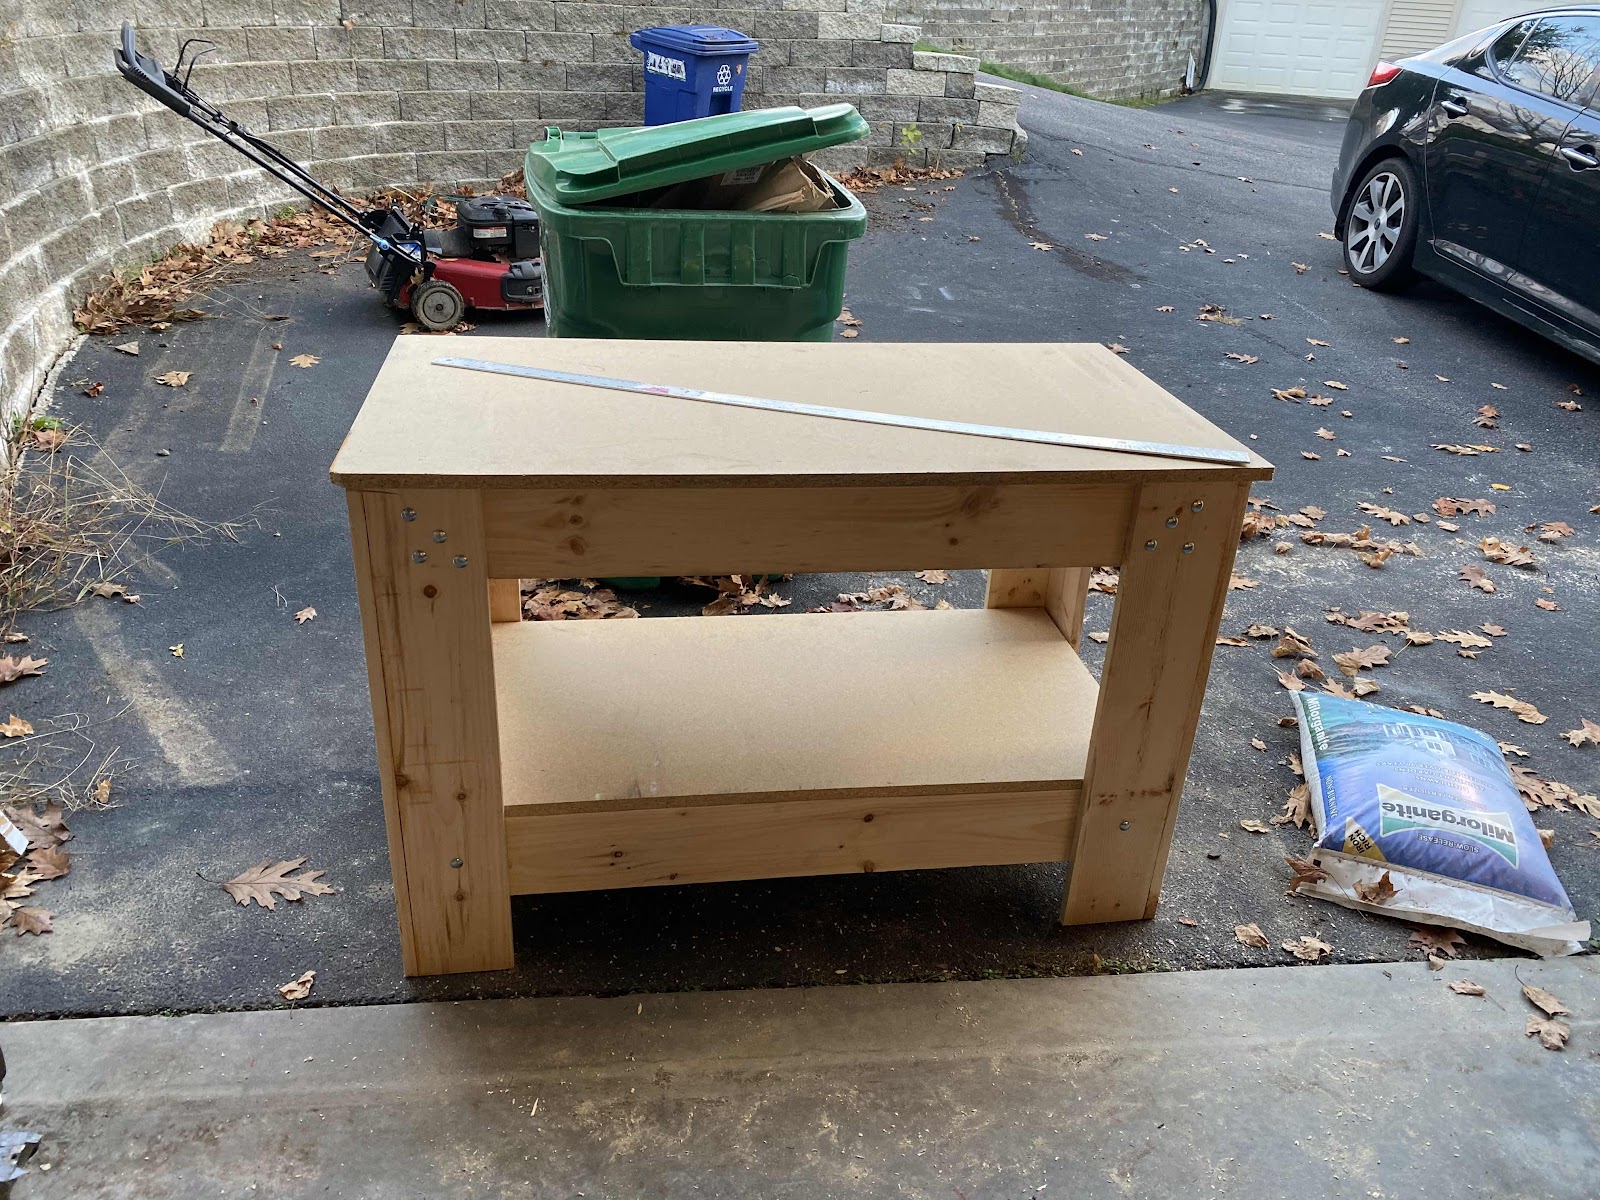
One thing is for sure, I am going to really clean the garage before it gets here!


Wednesday, June 24, 2020

Working on the very aft of the aft fuselage

I've been making progress over the last month or so on quite a few parts of the aft fuselage. The kit really comes together quickly at this stage, however I did have some challenges.

Backriveting worked well for the wings, and many other parts but when I started backriveting the floor of the tail, several of the rivets did not set well due to a bit of wobble that my table apparently developed over time. I switched to bucking the rivets and that went much better.


   Rudder stops came out great, you just need to go slowly.  Unfortunately the Horizontal stab attach angle I was not pleased with so I order another one. The amount of material that you remove on the edges is very small and it is easy to go overboard like I did and end up with too small an edge distance. This is a very important part, and replacing it is the right thing to do.


The bulkheads rivet together well, I used the c-frame to get perfect rivets.


I ended up having to use the flat seamer here to bend a bit more so that the overlap between the side skin and the aft bottom was tighter.


I have also been riveting the aft tailcone bulkheads. These are the most difficult I have come across so far because the angles are just tough to work with especially solo.

Saturday, May 16, 2020

I am back to building yet again

This blog is mostly inactive (sorry), but I am back to building. I have been at it for the last month. Most of the inactivity was due to some life changes and just lack of desire - End of a long relationship, plus having another plane to fly.

I am working through chapter 10, and am setting up some timelapse video which I intend on posting here on the blog as I complete sections.