Since my last post I have completed the prep of the ribs and also started deburring and preparing the flap brackets and all other small pieces for the rib attach. My thought is to prime all at once.
I am using the Sherwin Williams P60G2 Wash primer, and am going to use a small Harbor Freight gun given the smaller compressor that I have. This should do the trick for the priming.
The ribs were very tedious and it seemed for a while that I was repeating steps and doing things inefficiently until one day I just found a rhythm that worked for me. I did each rib individually rather than batch together each process and repeat the same thing for each rib. The only exception to that was the drilling. I used a reamer to ream all the #40 holes on all the ribs with the exception of the portion of the flange that slides into the spar.
I spent a lot of time worrying about how to debur the small tabs on the ribs, until I realized that running them through the corner of a soft scotchbrite wheel quickly did most of the job. You don't want to leave it on there for long though as you run the risk of weakening the material and grinding too much but the corner of the wheel does make it in the gap and remove the majority of the burrs. Anything left over I used the 240 grit emery cloth for.
I bought a Black and Decker RX dremel clone for $29 which works great, but did not find the deburring bits to be useful at all. It came in very handy though for trimming the tip flange off of the outboard wing ribs though. Do yourself a favor and get a full face shield if you are doing any cutting like this. Debris can go everywhere and your eyes come in handy for later.
The ribs take a long time because for each you need to:
- 'break the edges' - ie bevel each of the edges a bit to remove the burr.
- Remove the cut marks from the edges with a wheel + scotchbrite pad or sandpaper
- Bend the edges to 90 degrees
- Deburr all the flange crevaces
- Flute the ribs so that the web lies flat (not the whole rib just each flange/web)
- Drill all holes to #40
- Deburr the holes you drilled
- Dimple the holes
I would estimate that it took a minimum of 15-20 hours for all of that spread over several sessions. The last session that really got things moving was five hours long and that provided motivation to complete the task, as prior to that I at least could understand why the Quickbuild makes sense. I am sure I will write something similar when it comes time for the tanks :( It is about the journey though of course :)
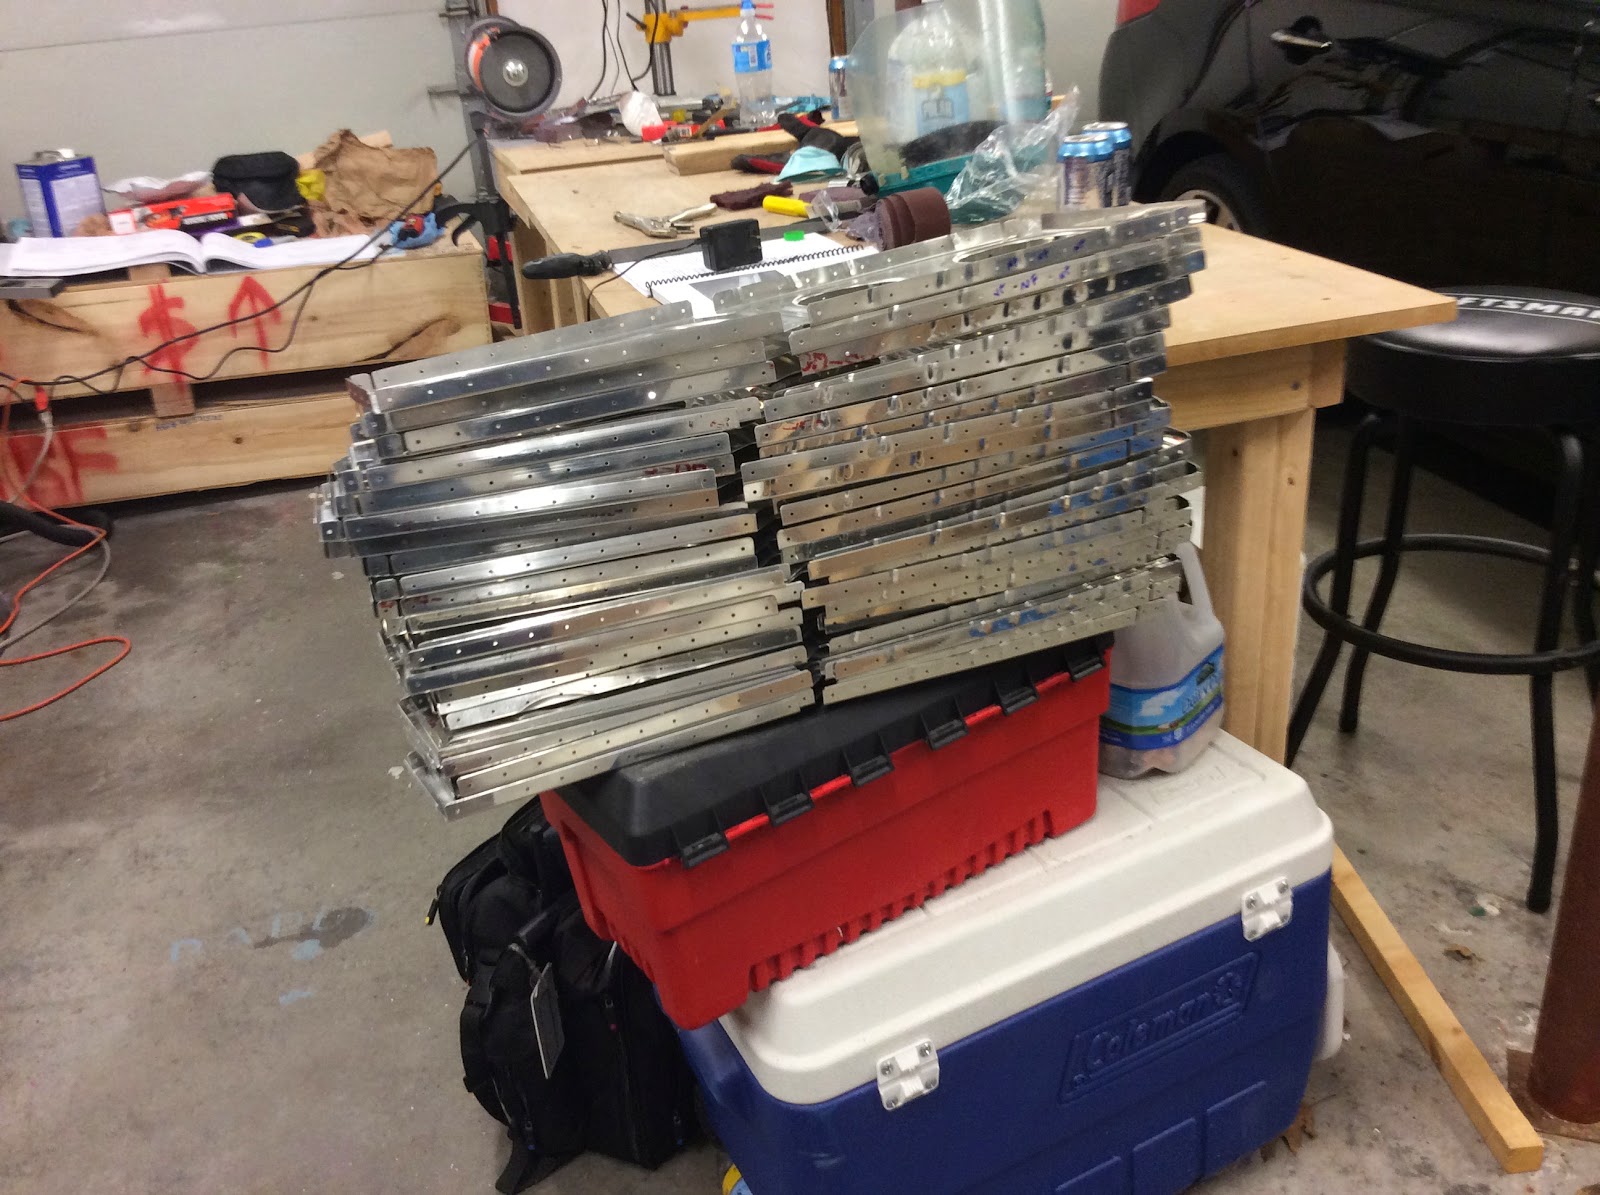
For all that work, I have a single picture to show the end product. This picture was taken just before I dimpled.