I mentioned in the last post that the Inventory was complete. That is true and it turns out that Vans made a couple of mistakes. They sent some bearings which were female instead of male so they swapped those. I then discovered that they sent me 54 nutplates that were 3/8" sized (K1000-6 instead of K1000-06 - way way smaller). I am not sure where you would even use a 3/8" nutplate in a Vans aircraft but they had enough to send me 54 of them. I returned those as well and am waiting for replacements.
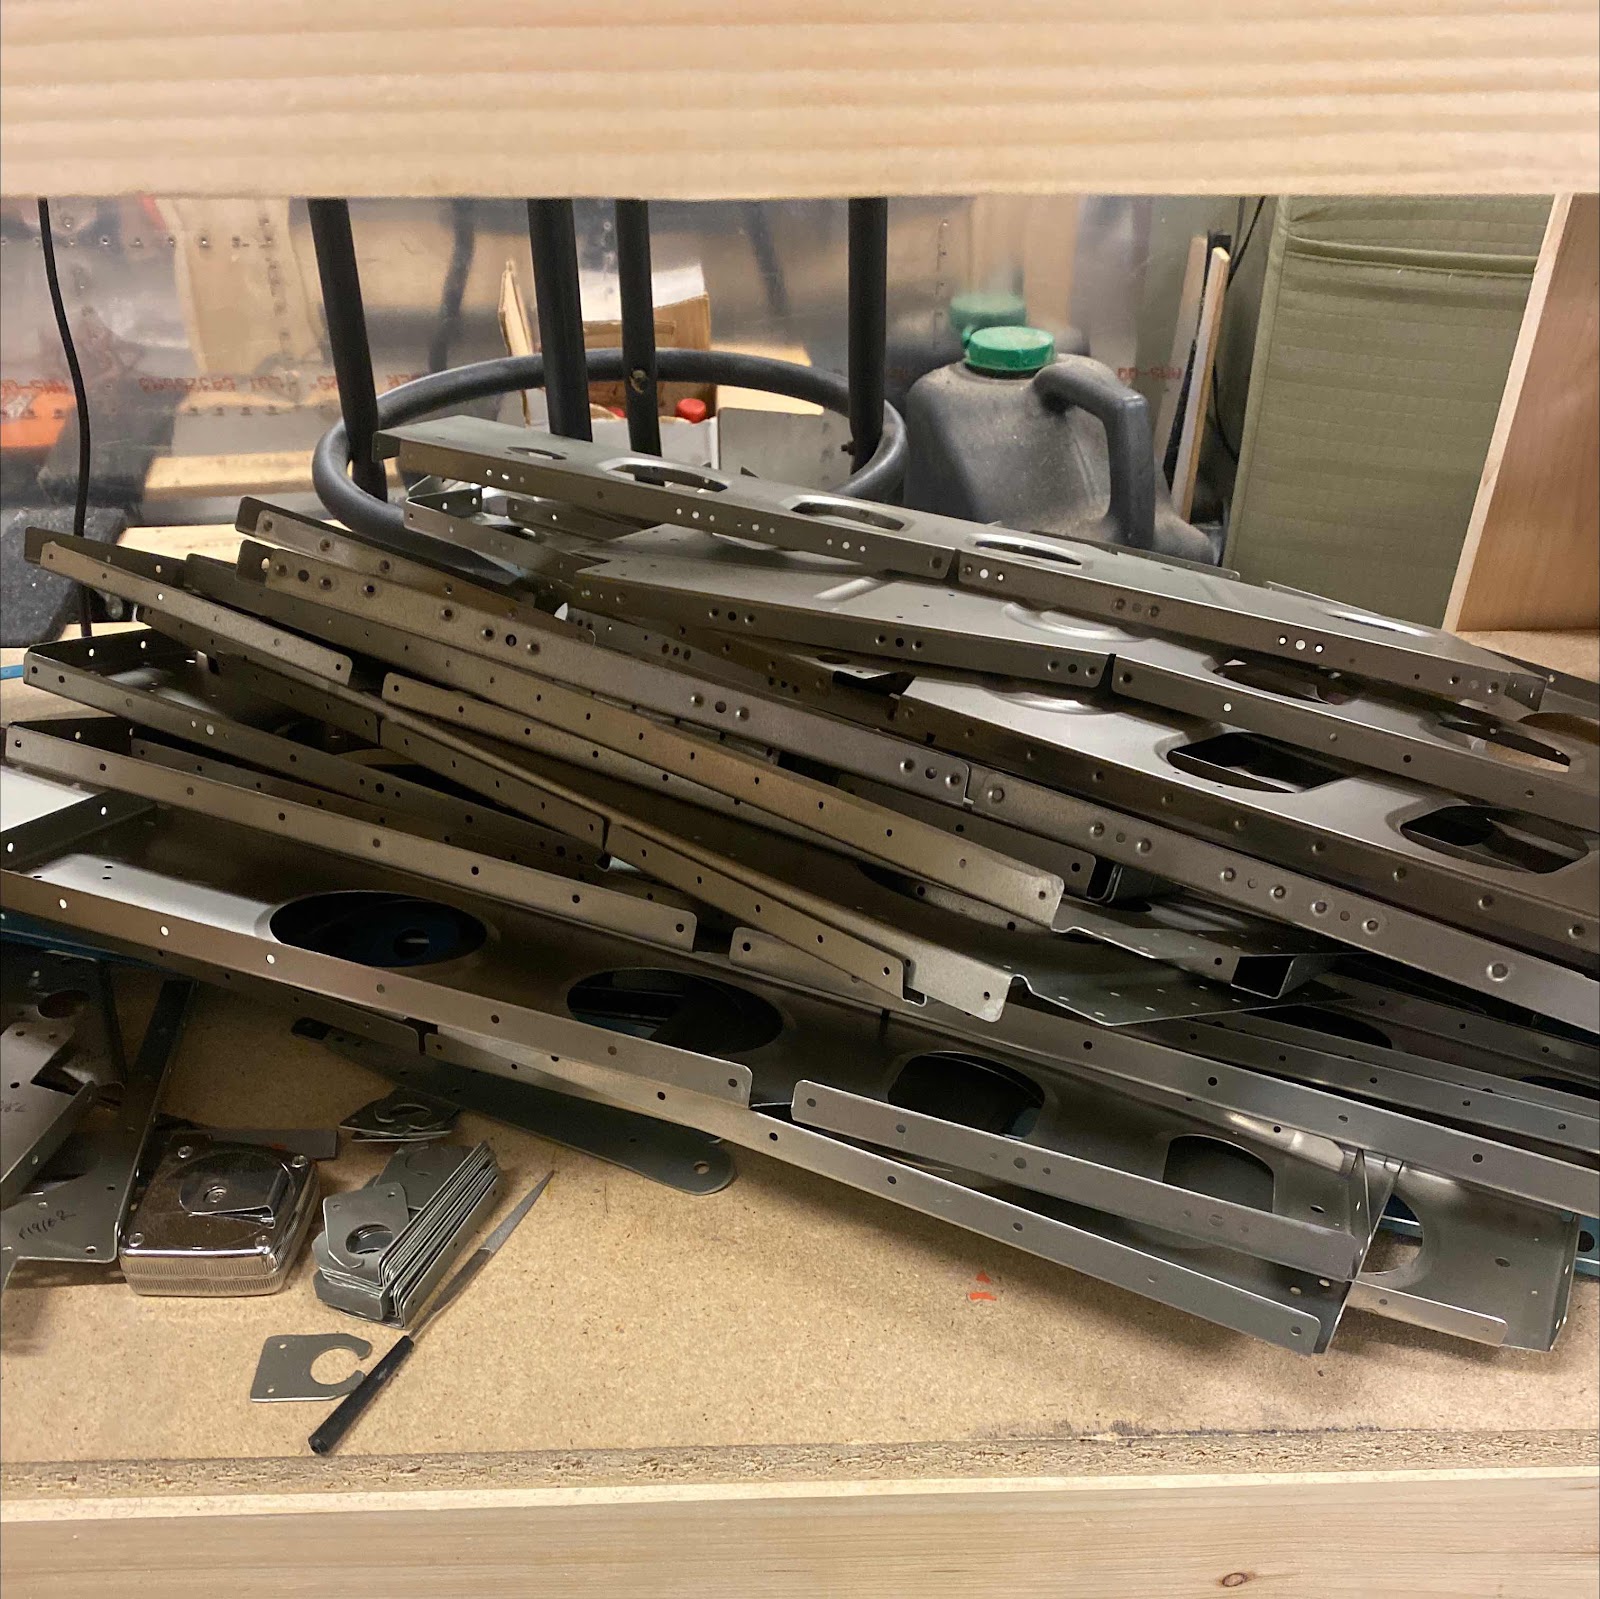
I’ve assembled the mid spar as far as I could get before the need for all the other small parts became a necessity. Chapter 25 begins with countersinking the spar, and some basic assembly of a frame shown below.
There are a few tools which are needed for the next few chapters that are mostly called out on the cover pages for each chapter with the exception of one (or two).
I had to buy a .311 reamer which surprisingly was only available from
Cleveland tool (I do like them). I already had a .375 reamer from the wing kit, so I am all set with that. While ordering I noticed I will need a reduced size 1/8" dimple die so I ordered that as well as a #17 and #20 drill bit. The #17 is not called out anywhere that I could find, and you run into it in Chapter 25. It gets used on the screw holes which need to be dimpled and I assume they have you drill this larger size (normal I think is #19 which I do have) to reduce the chance of cracking.
Another tool I am going to order is a proper torque wrench because reading ahead I see more bolts in my future.
Temporary bolts hold the assembly together below.
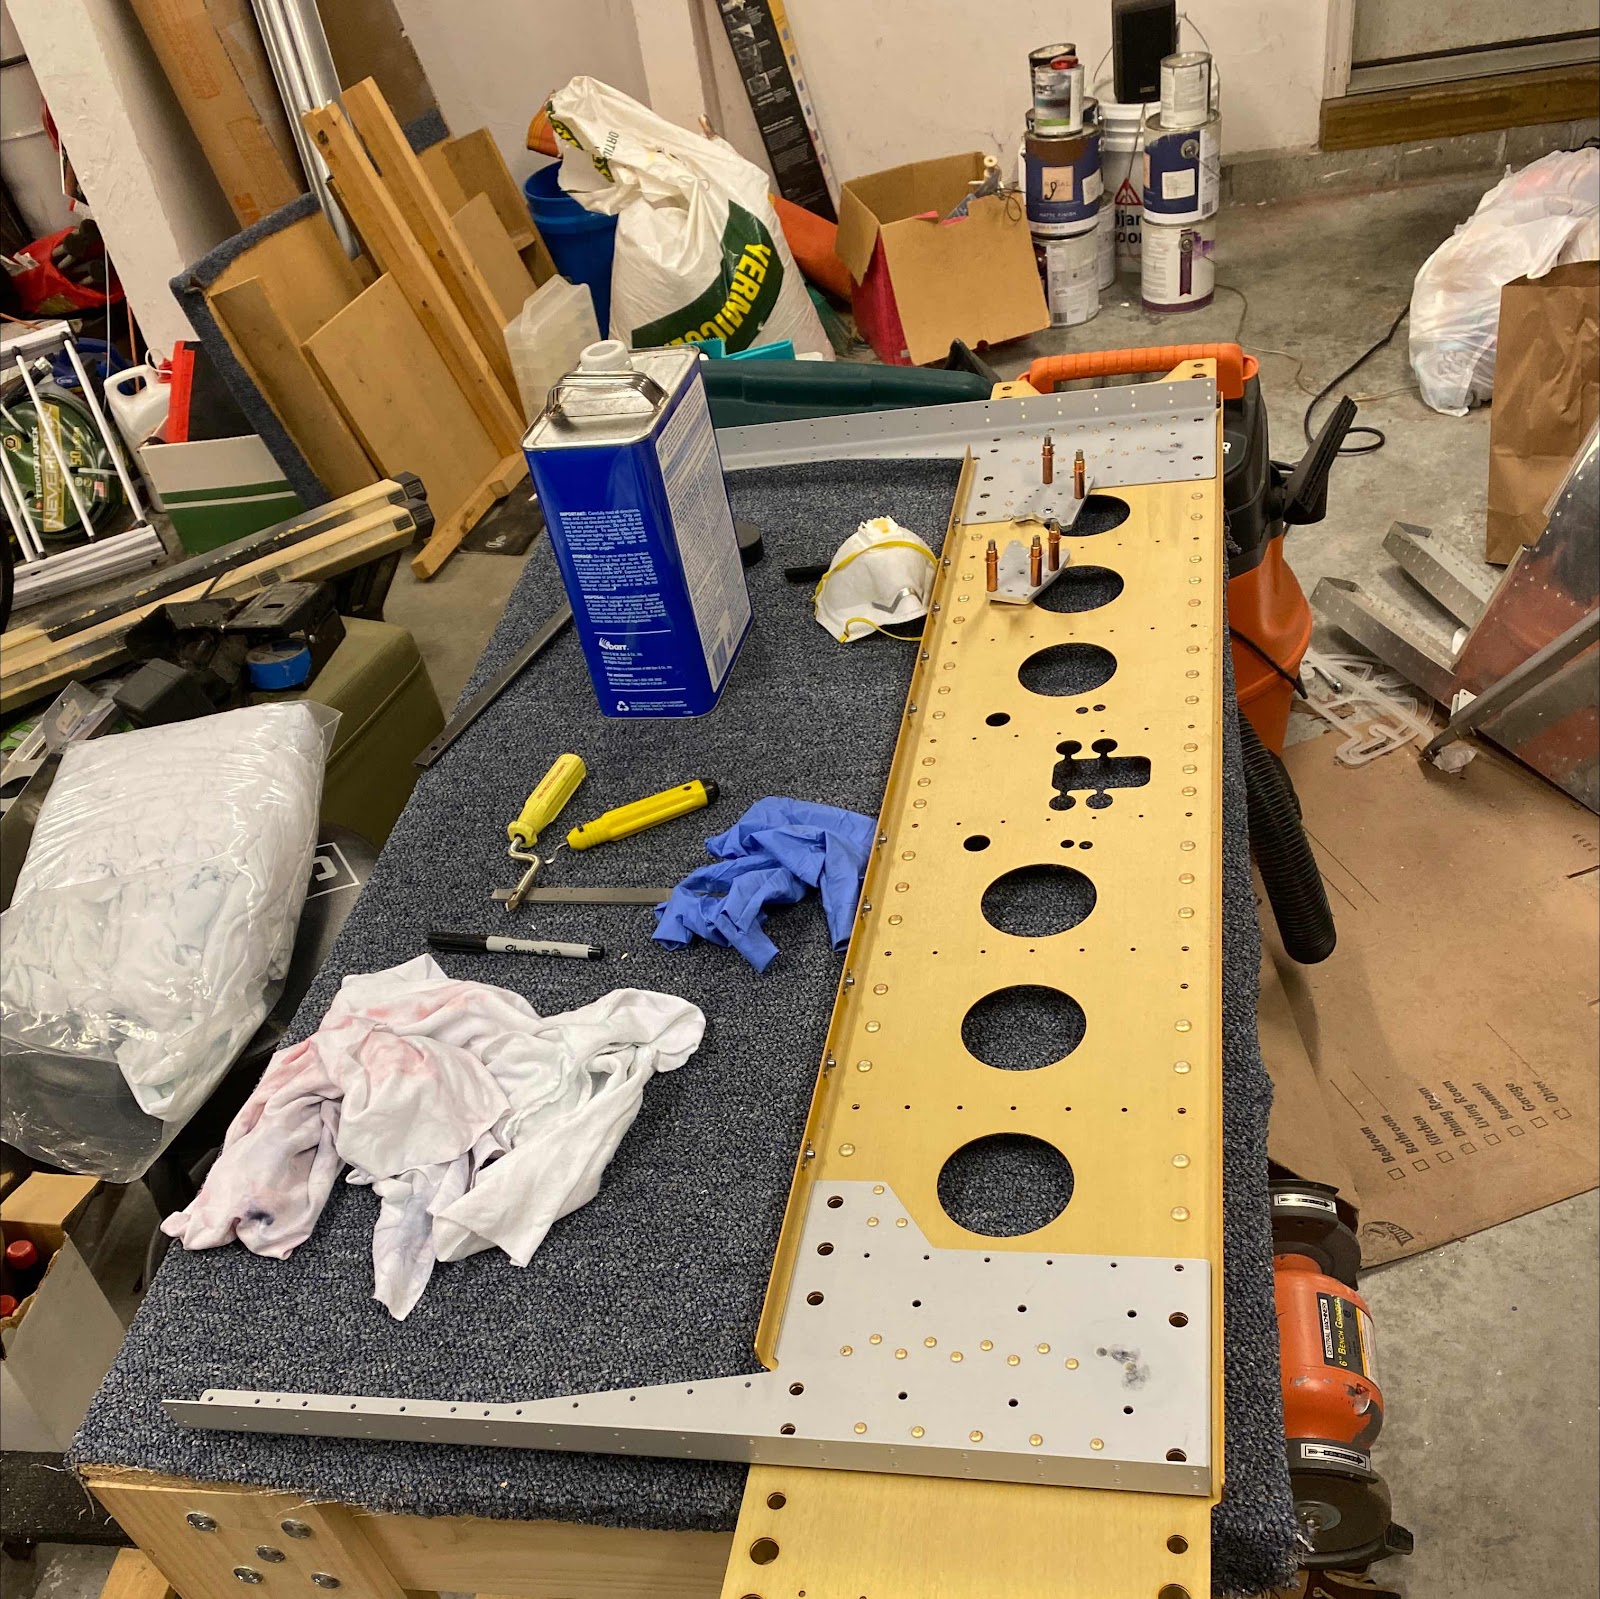
Endless deburring. I am quite efficient this late in the build and it can be maddening at times, but my realizing what level of deburring is required and what is not has caused this process to go a lot quicker now.
My issue is primer. It is cold here in Massachusetts so I have to prime in the garage. The P60G2 (Sherman WIlliams Wash Primer) that I have is over the theoretical shelf life but they are not specific about the usable life of the product. It seems fine at least from a consistency point of view.
Because of Covid, my access to a paint respirator is limited because I have checked around and most stores do not have them. So I am not sure if I am going to use the P60G2 or just proceed and get a gallon of SEM and call it a day. The spray can SEM works very well although the Sherman Williams product has Chromate in it which is a good and a very bad thing at the same time. I won't spray it without proper protection. I am leaning towards just using SEM but will have to wait for it to get here via the mail. I could buy a quart of it locally but it is a lot more doing it that way.
Stay tuned more progress to come!